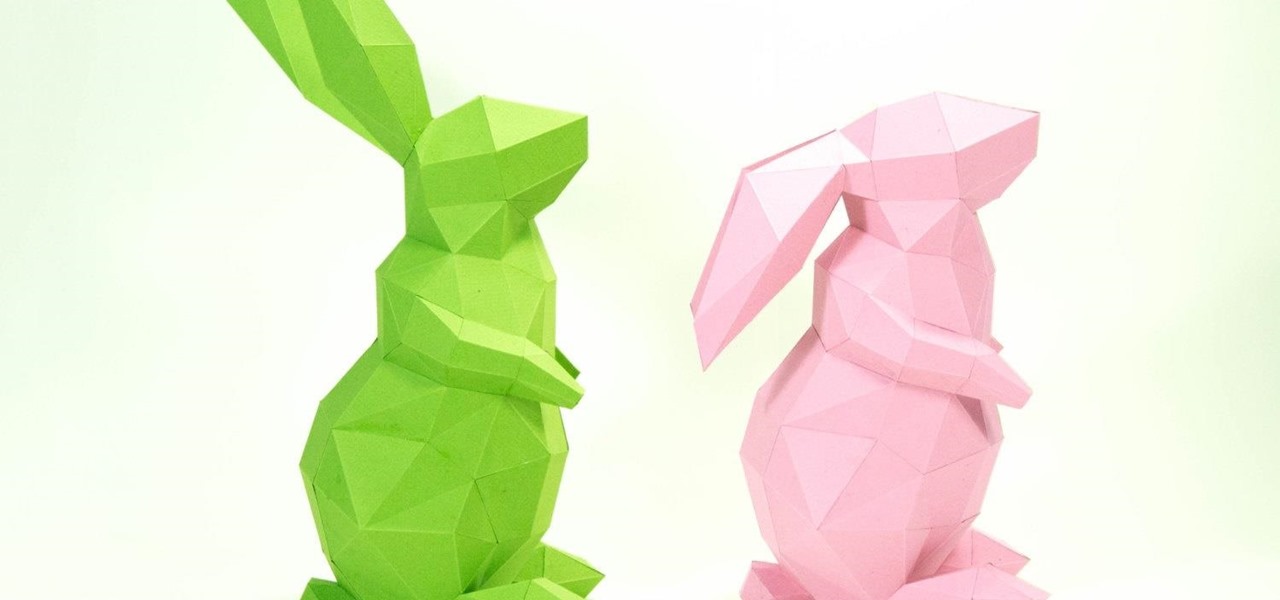

Bunny Rabbits and Eggs are popularly used to represent Easter. However, you can not only design your own Bunny Rabbit for such holidays but you can design it and give it to your best friend or mother as a Gift :).
In this video and article, I am going to take you through a step by step process of designing your own ready to print Bunny Rabbit in SelfCAD.
You can watch the video or follow the article or both.
Check the video above to learn how to design the Bunny Rabbit
Step 1: Add the Reference Image and Begin to Model
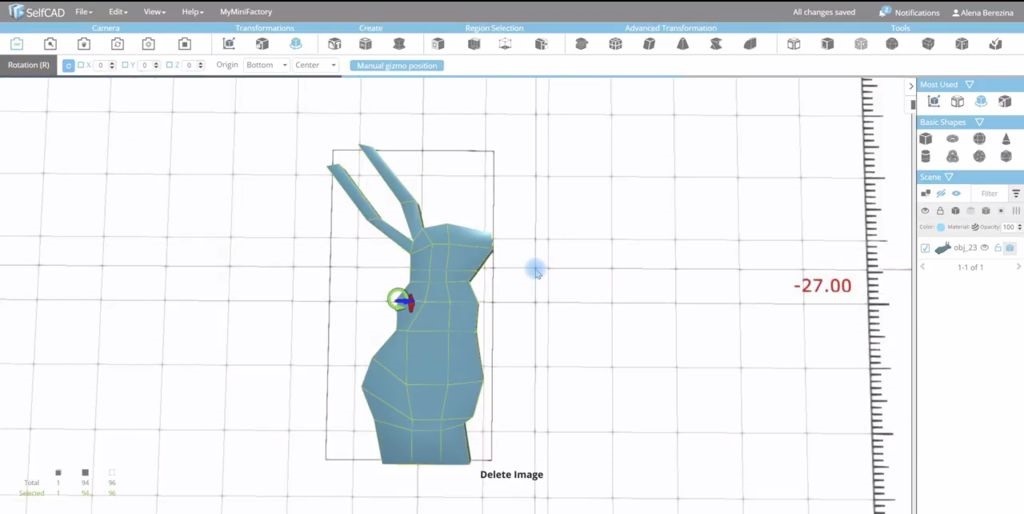
`Prepare a picture of the bunny rabbit and use the Reference image tool to add the image in the Workspace.
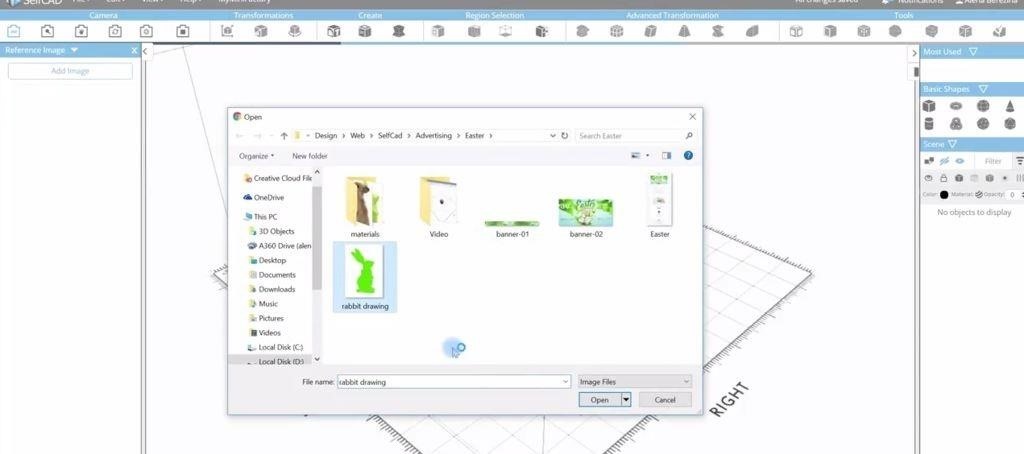
After importing the image in the workspace, it's the time now to start modeling the low polly bunny rabbit.
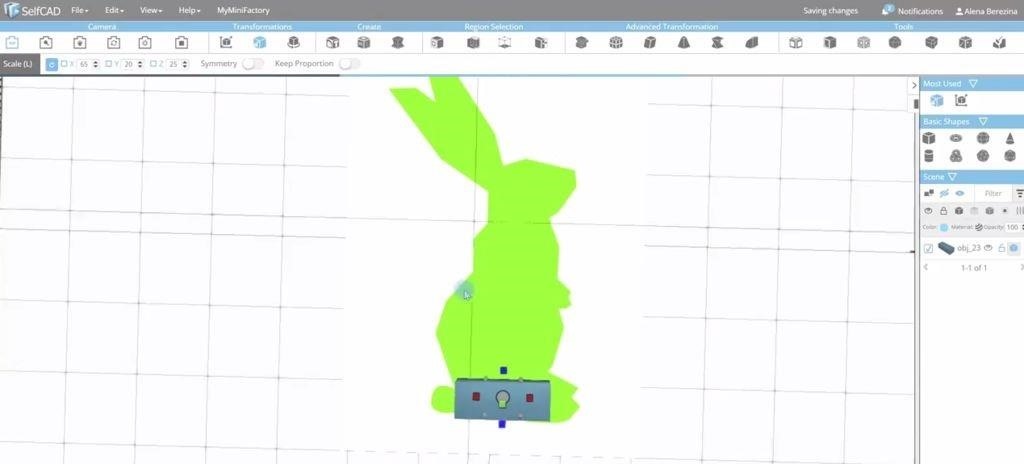
To begin, select the cube from the basic shapes section and set the width, height and depth to 50, 20 and 20 respectively and then finalize the model.
Using the Move tool from the Transformations section, move it to the bottom of the reference image as shown in the second image above and create the required size of bunny rabbit from it.
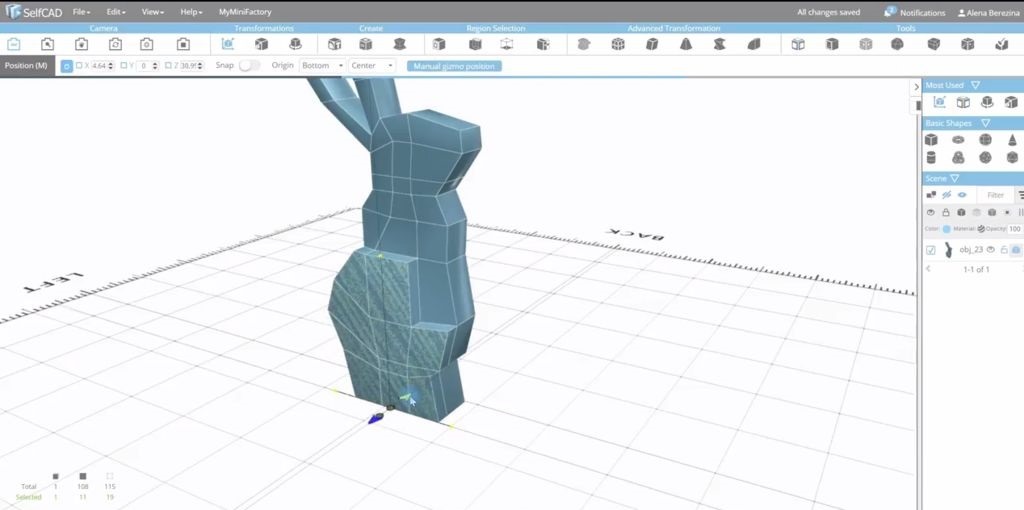
Step 2: Creating One by One Layers
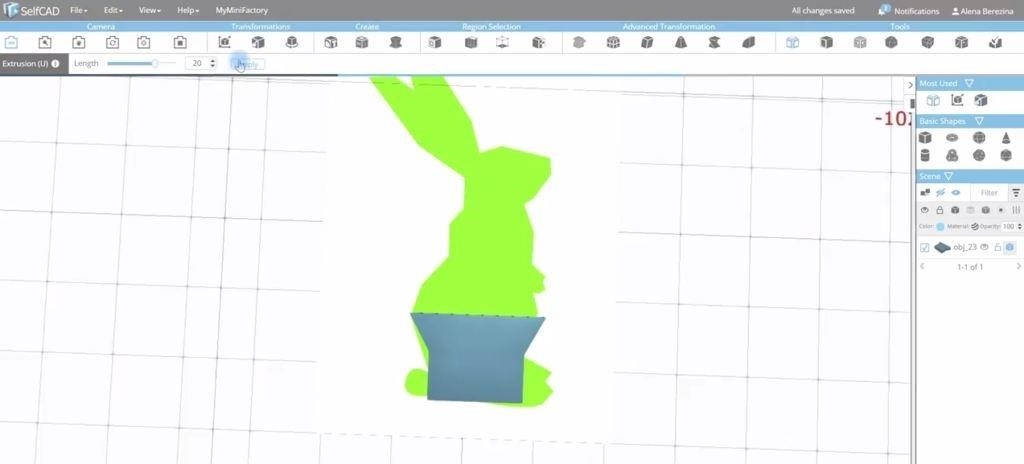
Select the Extrusion tool from the tools section and set the length to 20 then click Apply.
After extruding, select the top polygons of the model using the Polygon Selection tool.
Select the Scale tool and use it to scale the top section to be as shown below.
Select the Move tool and move the model until it reaches the middle section of the reference image and apply extrusion again.
Select the top section again and scale it using the Scale tool after applying extrusion.
Using the Polygon Selection and Edge Selection tools select the edges and move them to correct the necessary edges according to the reference image as shown in the image below.
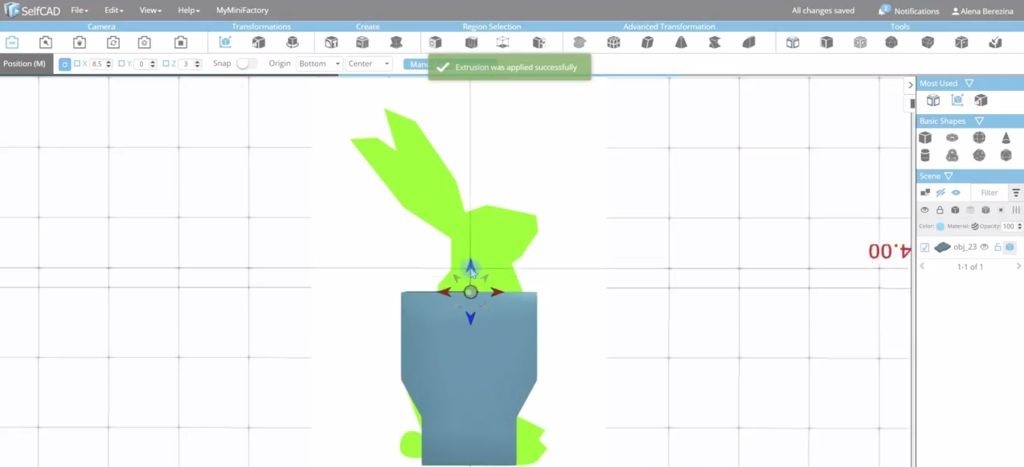
Step 3: Creating the Ears
To create the ears, use the polygon selection and extrusion tools.
In the process, rotate the polygons using the Rotation tool to shape the ear.
Use the Move and Scale tools to resize the ears.
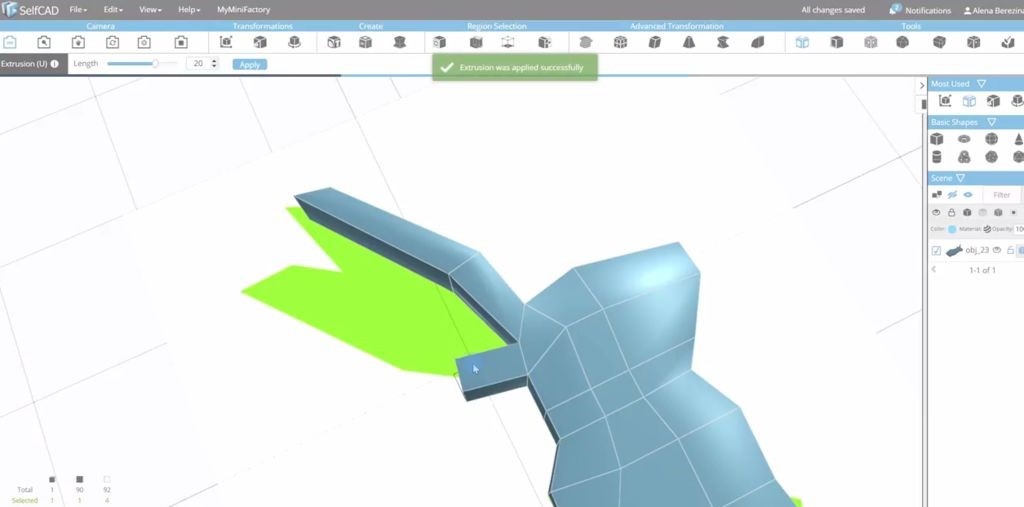
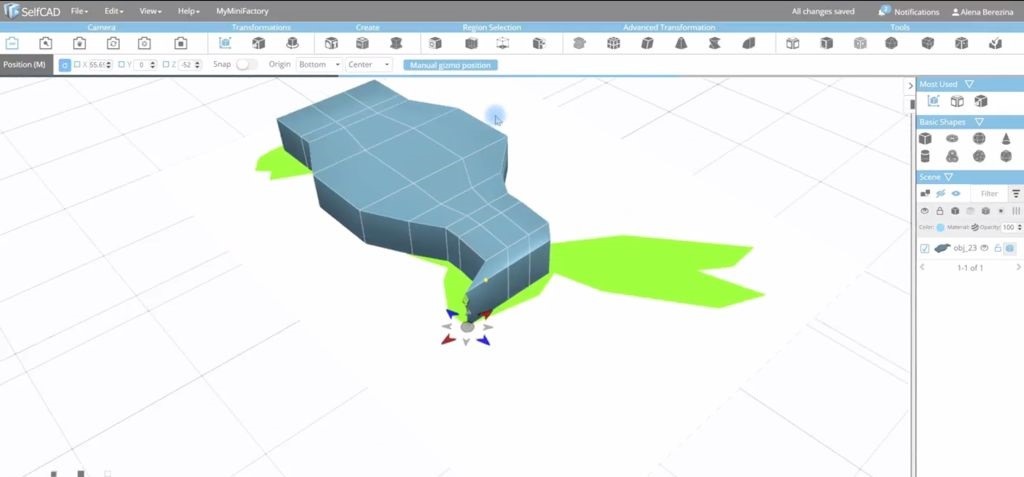
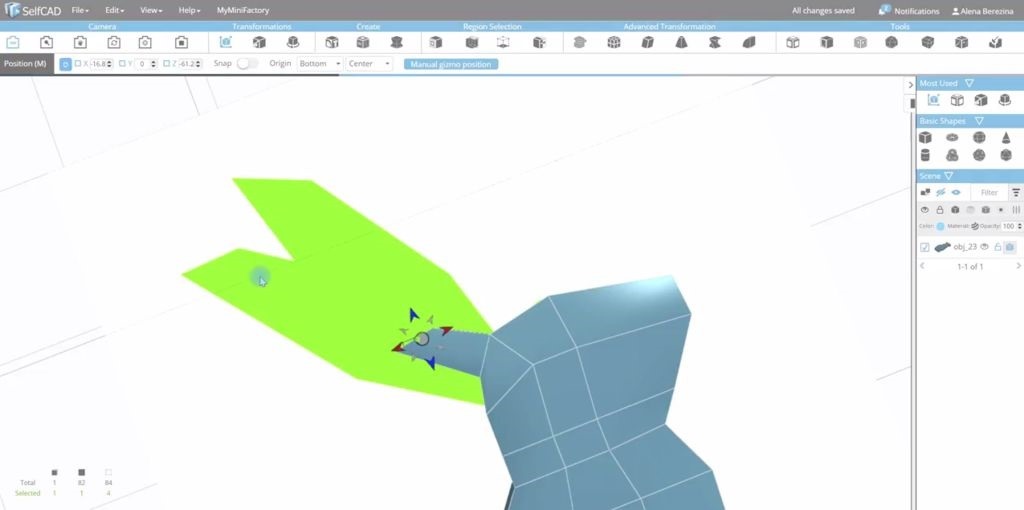
Create the second ear using the Extrusion and Polygon Selection tools and scale and move it to be the same size as the first ear.
Select and delete the reference image.
Step 4: Transforming the Model
Select the polygons and create paws.
Select the extrusion tool from the tools section and apply. Do the same on both sides.
Check the video above to learn how to achieve that.
Step 5: Creating the Legs
Select the front section using the Polygon selection tool.
After selecting, click Extrusion tool from the tools section and apply and move it using the Move tool.
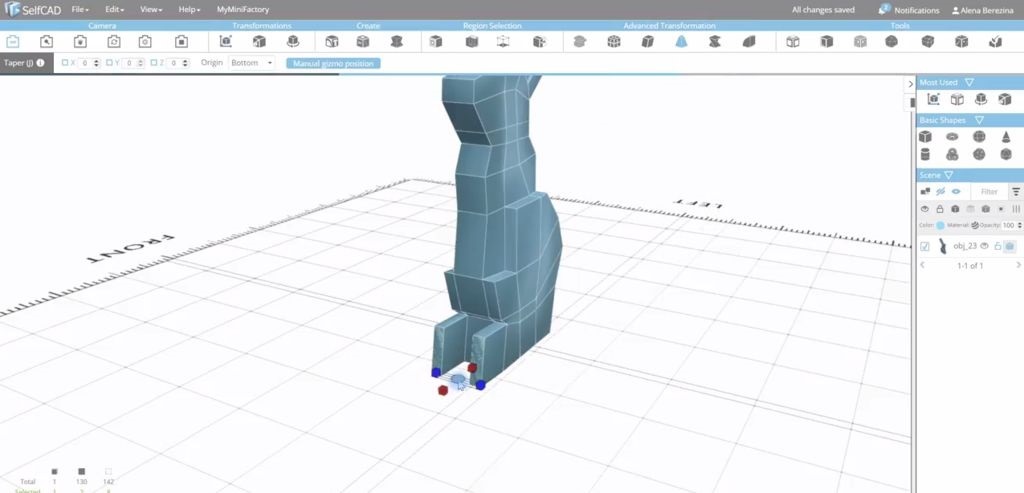
Select the Taper tool from the Advanced transformations section and make sure Bottom option of origin option is selected.
Continue modeling with selection and transformation tool.
Do the same when modeling hands.
Continue refining the entire shape using the selection tool.
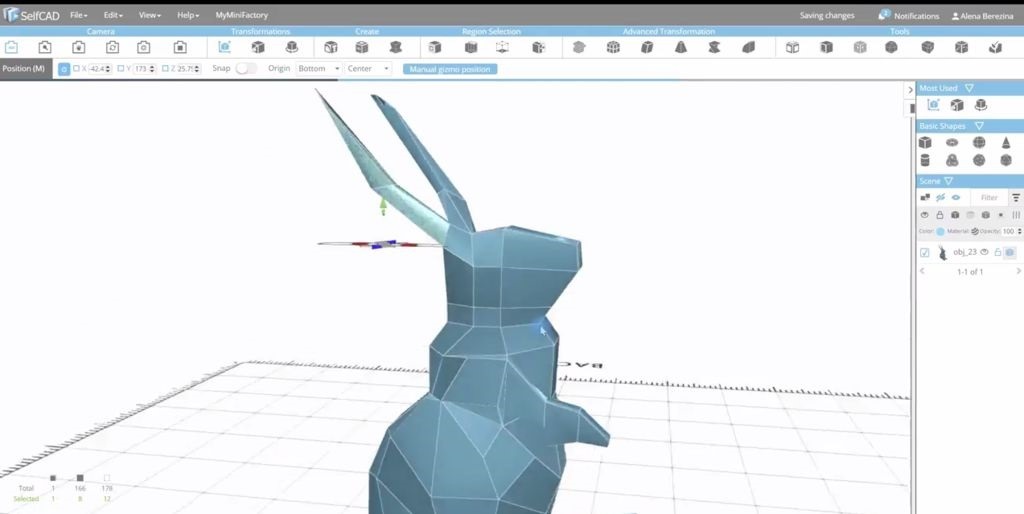
Resize the ears using the scale tool.
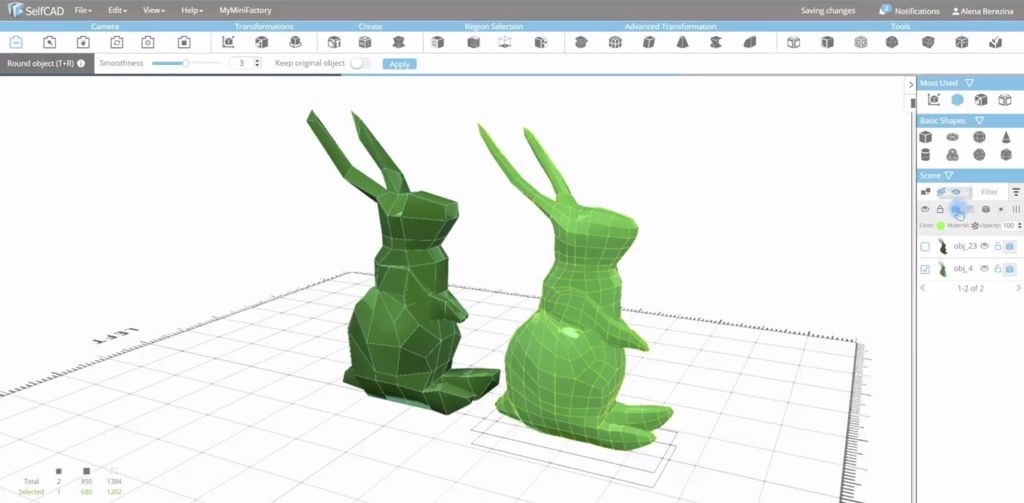
After modeling the model, you can make it smooth using the Round object tool found in the tools section.


Be the First to Respond
Share Your Thoughts